Most homeowners have never watched siding being installed. When the crew shows up with their tools and a flatbed of materials, you might wonder what’s actually happening out there — and whether it’s being done right.
Here’s an honest, step-by-step walkthrough of a professional vinyl siding installation in Calgary.
Before the Crew Arrives: Preparation
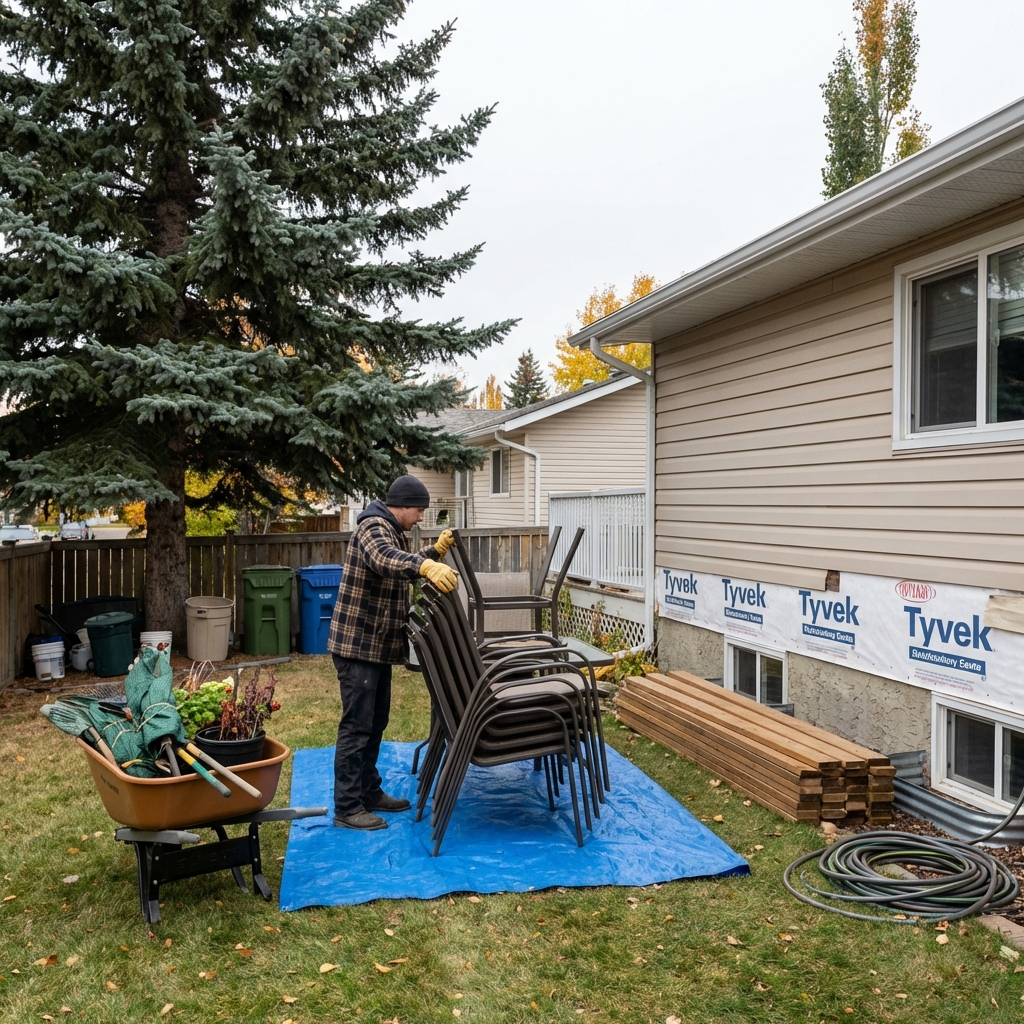
Material Delivery
Vinyl siding panels and trim components are typically delivered 1–3 days before installation begins. The crew will stage materials near the home — often along the fence line or in the driveway. Panels need to acclimatize to outdoor temperature, especially in spring and fall when temperature swings are significant.
Site Walkthrough
On day one, the lead installer should do a brief walkthrough with you to confirm:
- Scope of work (which elevations, which areas)
- Any known concerns about the existing exterior
- Where they’ll be staging tools and materials
- How to reach you if they find something unexpected
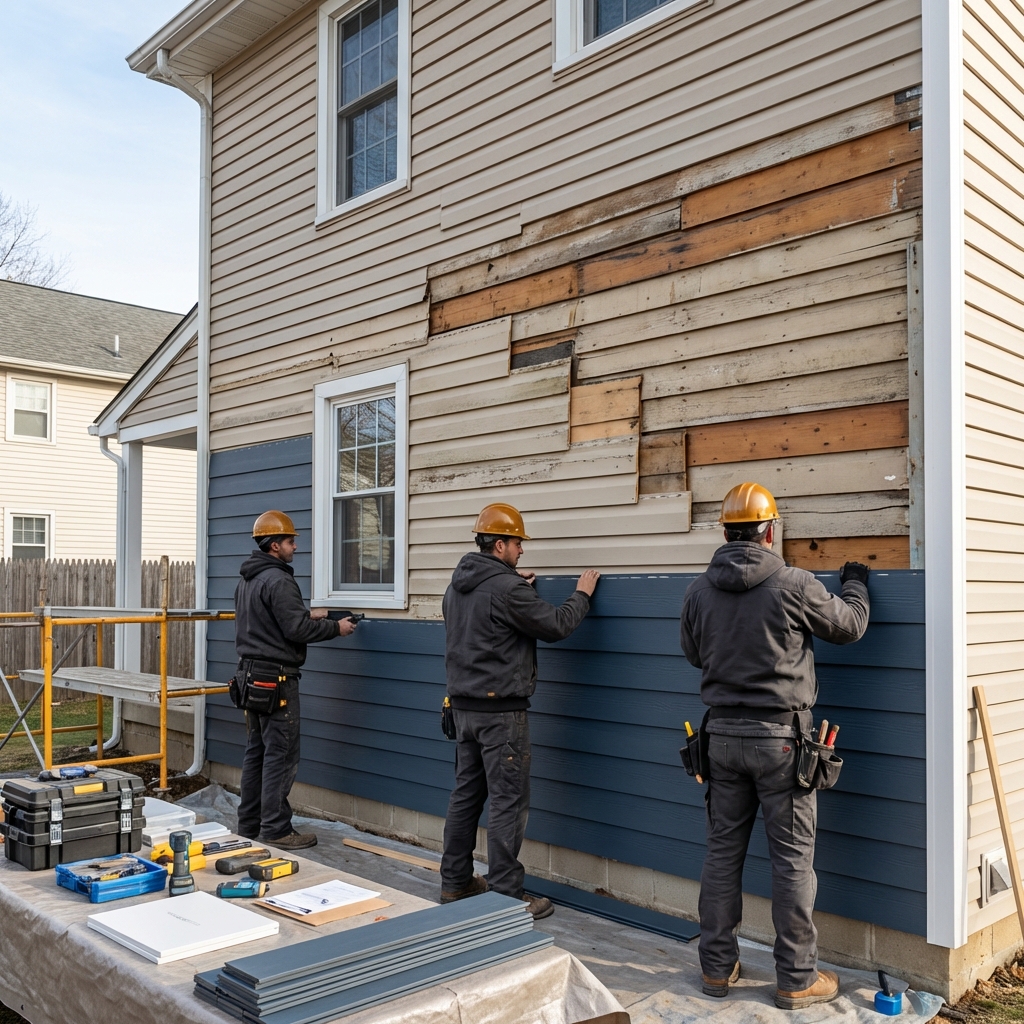
Day 1: Removal of Old Siding
The first major task is removing your existing siding. This is done by hand, working from top to bottom on each wall section.
What good removal looks like:
- Panels stripped carefully without gouging or damaging the sheathing underneath
- Old nails removed or hammered flat
- Debris collected and staged for disposal — not left blowing around your yard
What the crew is watching for as they strip:
- Areas of soft or spongy sheathing (sign of moisture damage)
- Missing or damaged house wrap
- Insulation falling away or compressed
- Mold or staining on the sheathing surface
Any findings that add scope and cost to the project should be documented and communicated to you before work proceeds on that area.
Day 1–2: Wall Inspection and Prep
Once bare, the wall sheathing is inspected. In older Calgary homes (pre-1990), it’s common to find:
- Missing house wrap or building paper — standard in that era, but a moisture management gap today
- Rotted OSB or plywood — often in areas below windows or at grade level
- Missing flashing — around windows, doors, and horizontal transitions
Addressing these issues now, before new siding goes on, is critical. Putting new vinyl over rotted sheathing just delays and worsens the problem.
Day 2: House Wrap Installation
If the house wrap is missing, damaged, or deteriorating, a new weather-resistant barrier (WRB) is installed over the sheathing before any siding goes on. This is a critical moisture management layer.
Good house wrap installation includes:
- Overlapping seams correctly (upper laps over lower, like shingles)
- Taping all seams with compatible flashing tape
- Proper integration with window and door flashing
- Full coverage with no gaps or tears
This step is often skipped by low-quality contractors trying to save time. It is never optional.
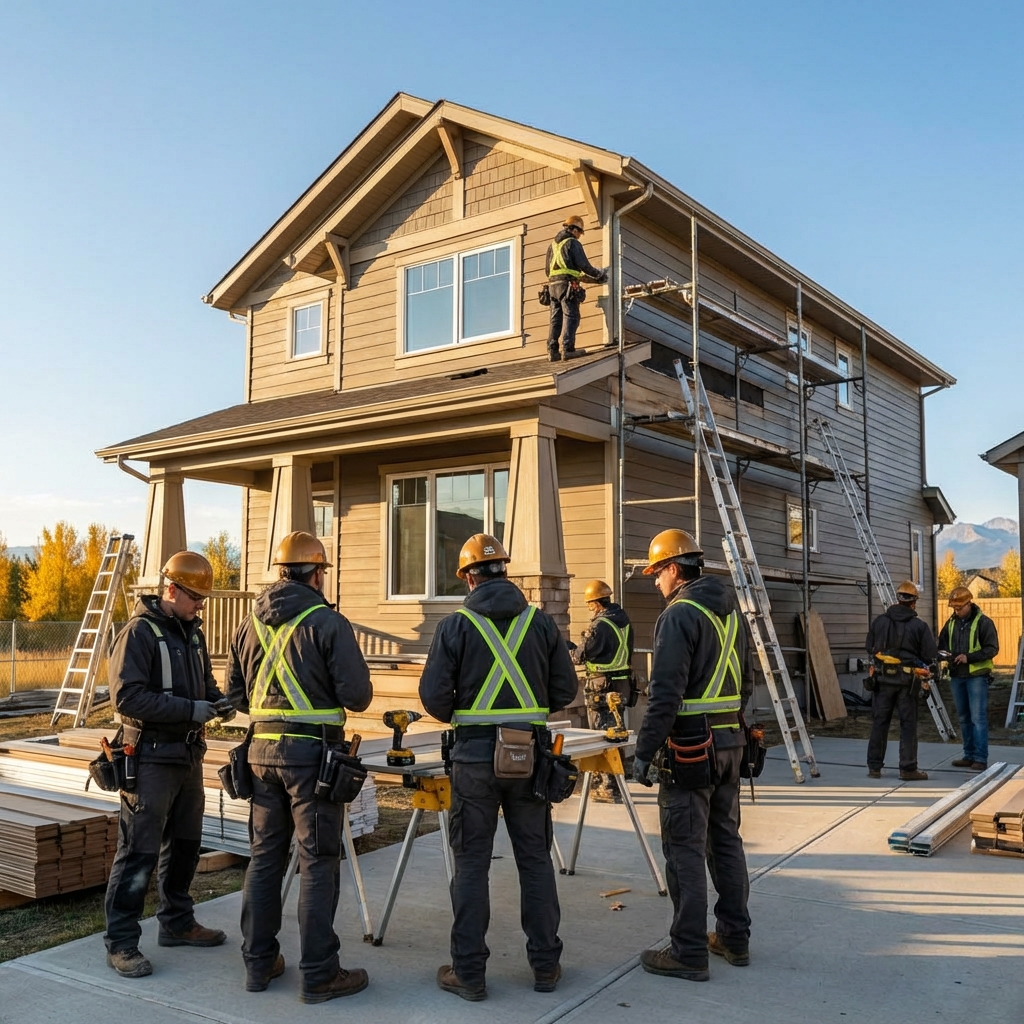
Day 2–3: Installing Trim Components First
Siding installation starts from the outside in — trim components go on before siding panels:
- Starter strip — runs along the very bottom of the wall, sets the angle and first course of siding
- Corner posts — installed at every outside corner; all siding panels will lock into these
- J-channel — installed around all windows, doors, and under soffits; receives the cut ends of panels
- Window and door trim — may include decorative head caps or drip caps
These trim pieces define the quality of the finished look. Wavy J-channel, out-of-plumb corners, or improperly flashed window heads are signs of a rushed installation.
Day 3–5: Panel Installation
With trim in place, panels are installed from the bottom of the wall upward. Each panel locks into the one below via a j-hook on its lower edge.
Signs of quality panel installation:
- Panels are nailed in the center of nail slots — never driven tight (allows for thermal expansion)
- Panels are level — checked every few courses with a level
- Panels slide freely within corner posts and J-channel (allows for movement)
- Lap joints are staggered — no vertical alignment of joints between courses
- Consistent reveal (exposure) from course to course
What Calgary’s climate requires specifically: In Calgary, thermal expansion is significant. We recommend all contractors leave appropriate expansion gaps, especially at the top and bottom of each panel. Tight-nailed panels in Calgary will buckle during chinook-driven temperature swings. Premium vinyl (0.044”+) handles this better than thin builder-grade material.
Final Day: Trim, Cleanup, and Walkthrough
The last day is finish work and cleanup:
- Utility trim installed around exterior outlets, hose bibs, lights, and vents
- Caulking applied at critical intersections (not all gaps — vinyl needs to move)
- Final inspection of all corners, J-channels, and trim for flush, tight fit
- Debris removal and site cleanup
- Homeowner walkthrough — you should walk the entire exterior with the crew lead before signing off
During your walkthrough, look for: consistent panel alignment, no visible gaps at corners or trim, no hammer dents on panels, and all accessories properly attached.
How King’s Land Siding Does It
Our crews are trained installers — not day laborers. Every job is supervised by an experienced lead, and we use premium products from CertainTeed, Kaycan, and Alside. We pull permits when required, document any under-siding conditions we find, and don’t consider a job done until you’ve walked the exterior with us and signed off.
Ready to book? Call (403) 555-0190 or request your free estimate online.